
A weed tin that closes smoothly when empty may seat unevenly once it contains product. A raised piece or insert can interfere with lid travel, while excessive gasket compression can add resistance without improving the seal. Reliable weed tin sealing depends on the filled package closing without interference, making consistent sealing contact, reopening as intended and remaining stable after handling or transport.
The Practical Answer
Measure the highest realistic pack-out before changing the gasket. Then check whether the closed lid reaches its intended position without touching the contents. Once clearance is stable, sealing contact, opening behavior, and transport performance become much easier to evaluate.
Headspace does not determine gasket compression by itself. The connection is mechanical: if the product or an insert stops the lid before it reaches its intended closed position, gasket engagement may change. If the contents remain clear of the lid and the closure seats fully, changing the free space alone does not necessarily alter gasket compression.
The distinction matters because several problems can feel identical during a quick hand check. A high product load can make a closure feel tight. So can excessive gasket compression. A slightly tilted lid can create the same impression, even though the cause sits elsewhere in the structure.
In practice, the useful comparison starts with the empty package and the intended filled package. If the empty version closes smoothly but the loaded version changes noticeably, the product stack deserves attention before the seal is redesigned. That simple comparison often prevents an unnecessary gasket change.
This is a broader child-resistant metal packaging issue. Closure movement, cavity depth, sealing parts, product position, and transport conditions all influence the final result.
Start With the Real Pack-Out
Measure Product Fill Height First
Product fill height sounds simple until irregular material enters the container. The visible fill line may sit comfortably below the lid, while one cluster or raised piece reaches much higher. That local high point can become the dimension that controls closure.
For a broader guide to product dimensions, orientation and usable cavity size, see our guide to choosing the correct tin container size. This article focuses on the sealing consequences once the packed geometry is known.
A carefully arranged sample can understate normal variation. During routine filling or handling, loose material may form a higher mound, settle lower, or rotate so one piece becomes the highest point. Record the pack-out as filled and after representative movement; the lid responds to the geometry present at closure.
|
Normal Load Typical packed heightUse several routine pack-outs, not one carefully arranged sample. The goal is to understand where the product usually sits during normal filling. |
High Condition Highest realistic pointLook for raised pieces, insert edges, liners, or uneven clusters. A single high location can affect closure before the average fill level does. |
After Movement Settled packed heightRepeat the observation after representative movement. The cavity may gain free space, or a rotated piece may create a new interference point. |
Use One Reference Point for Every Sample
A measurement only becomes useful when later samples can reproduce it. For example, the internal bottom can act as the reference for the highest packed point. The closed lid feature can then be related to the same structural datum.
Meanwhile, internal components need their own review. A tray may hold the contents lower, yet its upper rim can become the tallest point. A liner can wrinkle upward. A pad can shift. These details change effective fill height even when the product itself has not changed.
The useful result is a range, not a single idealized measurement. Minimum, typical, and maximum conditions show whether the package can accommodate normal variation and help explain why one filled sample may close differently from another.
Clearance Changes the Whole Experience
What Headspace Changes Inside the Tin
In this article, headspace means the minimum vertical clearance between the highest realistic packed point and the nearest relevant surface of the fully closed lid assembly. It is a dimensional clearance, not the total unused volume inside the tin. A tray, liner, pad, formed lid panel or inner ring can become the limiting surface, even when the outside dimensions suggest more room.
Measure the product and the closed-lid profile from the same reference surface. If a tray or holder supports the contents, use that support surface—not the tin floor—as the datum. The limiting point may be at the center, a formed edge, beside a holder or below a sealing component.
A simple development reference
Minimum vertical clearance = closed-lid height − packed-product height at the limiting location, with both measured from the same support surface. Check the clearance across the lid profile; the smallest local gap governs interference. This is a project comparison, not a universal pass-or-fail specification.
When Headspace Is Too Small
A tight cavity can look efficient because very little space appears wasted. But if the product or an insert contacts the lid before the closure reaches its intended position, part of the closing load is carried by the contents or insert. The lid may sit high or tilt, leaving the gasket under-compressed or unevenly loaded.
The change can be subtle. One side may sit flush while another remains slightly high. The closure may still engage, but the gasket contact pattern becomes uneven. At that point, increasing gasket thickness can make the package feel tighter without correcting the underlying interference.
A useful clue appears when removing a small amount of product changes the closing feel immediately. Another clue appears when the empty package seats evenly but the filled version rocks before closing. Both observations point back toward the vertical pack-out.
Product protection matters as well. A successful seal should not depend on crushing or continuously loading the contents unless the project intentionally uses that arrangement. Clearance should support the package rather than force the product to become a closure component.
When Headspace Is Too Large
Extra space creates a different concern. Loose contents can travel farther before contacting the sidewall, lid or insert, increasing the chance of rattling, settling, rubbing or particle migration during repeated movement.
The useful target is controlled clearance, not minimum clearance. Enough space should remain for the lid to seat normally, while the cavity should limit unnecessary product movement during distribution.
Tight Is Not the Same as Well Sealed
How Gasket Contact and Compression Affect Sealing
A gasket works when the closing structure brings it into controlled contact with a mating surface. The material deforms and accommodates small differences along that path. However, free gasket thickness alone says little about the final condition.
Closed gap, contact width, local flatness, lid travel, gasket position, and metal-forming variation all matter. That is why two samples with the same nominal gasket can feel different. The surrounding structure decides how much compression actually occurs.
In a child-resistant tin, the seal also shares space with the closing and release mechanism. A change that improves gasket contact can alter the motion needed to close or reopen the package, so both functions should be evaluated together.
Check Contact Before Asking for More Compression
The most important question is whether the gasket touches the intended surface around the complete seal path. An average measurement can look acceptable while one local region remains lightly loaded. That weak region may control the result.
For rectangular formats, corners and long edges deserve careful comparison. Hinge areas and closure points can also load differently. Round formats remove corner transitions, yet concentric seating can still influence contact around the circumference.
Visual evidence can be surprisingly useful during sample development. A controlled contact-marking method may reveal where the gasket touches strongly and where contact fades. At the same time, lid rocking or local lift can expose a seating problem before a formal seal check starts.
More Compression Can Create New Problems
Adding compression may improve contact when the existing condition is too light. However, the same change can increase closing effort or shift the lid away from its intended resting position. It can also make normal dimensional variation more noticeable.
A very tight sample can be misleading: high resistance may feel secure during a short review, yet repeated use can make opening less consistent. Depending on the gasket material and compression conditions, sustained or excessive compression may also affect recovery. Greater resistance does not necessarily mean more reliable sealing.
Instead, development should look for a working window. The useful condition maintains complete contact while leaving enough mechanical margin for normal part variation. That approach is more robust than simply choosing the thickest available sealing element.
Repeated Opening Reveals Another Layer
A sample can behave well during its first closure and change after several cycles. The sealing material may recover differently after sustained compression, while friction at the interface can also change. A reclosable package should be judged beyond the first successful opening.
One useful comparison is the contact condition before cycling and after repeated use. If one area stays visibly flatter or begins to seat differently, local over-compression may be involved. The observation can guide a more focused sample revision.
Real CR Tin Structure References
Three Tin Structures to Review During Seal Sampling
Different container shapes place the sealing components and packed product at different heights. These three current CR Tin products provide useful visual references for square, round, and low-profile hinged layouts. The cards are structural examples rather than universal sealing specifications.
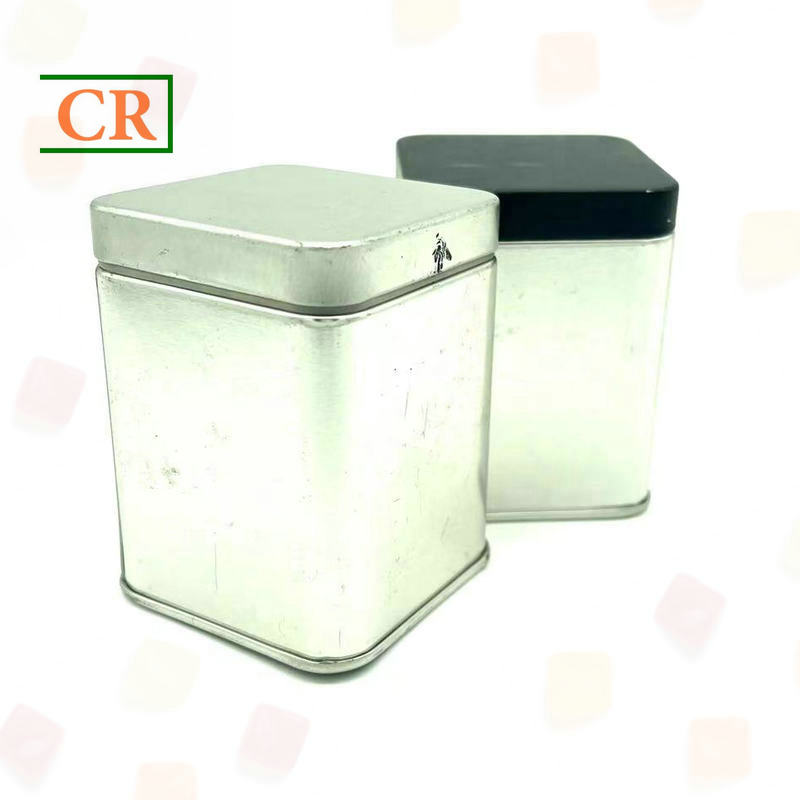
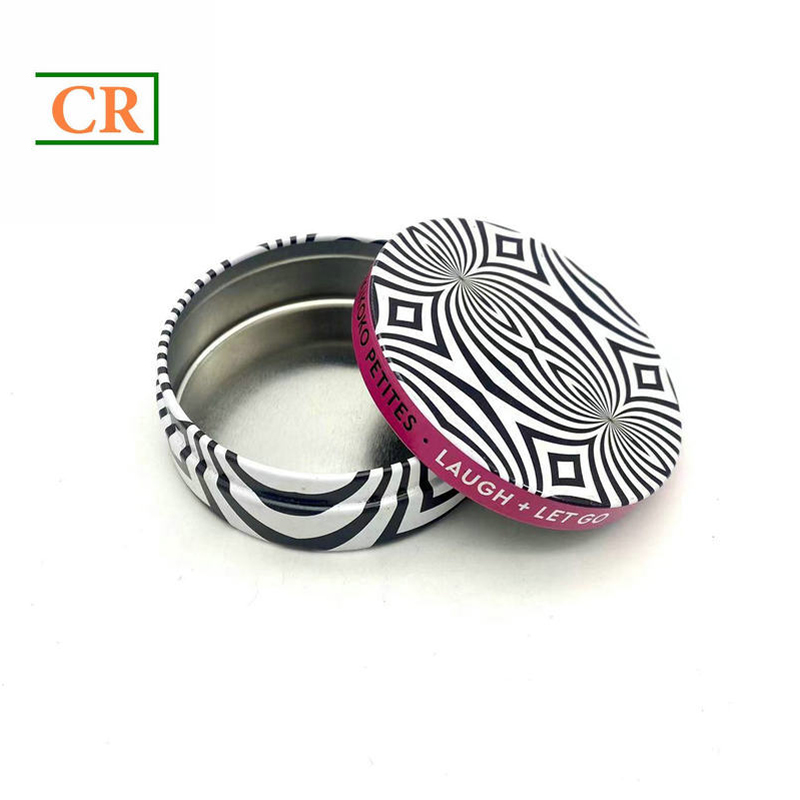
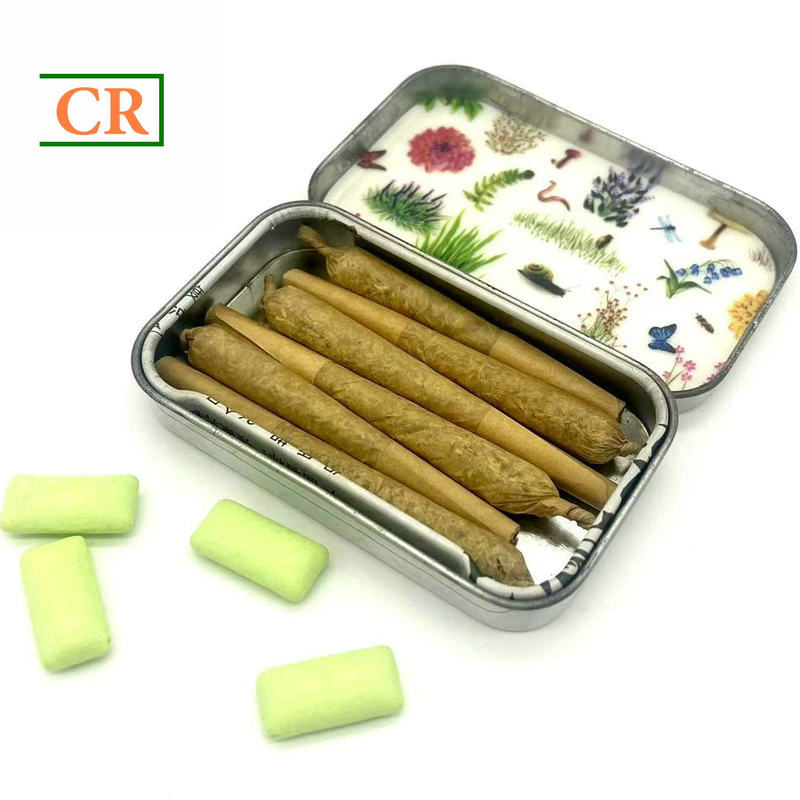
Images link directly to their corresponding CR Tin product pages. Final headspace and compression decisions should still use the intended product load and production-intent sample structure.
The Seal Still Has to Feel Right
Opening Force and Usability Trade-Offs
Opening resistance is often treated as one number or one impression. In reality, several actions may happen in sequence. The closure releases, gasket contact breaks, and the lid then lifts or rotates away from the container.
That distinction becomes useful when a sample feels difficult. The child-resistant mechanism may release normally, yet the lid still clings to the gasket. In another sample, gasket separation may feel easy while the locking geometry creates most of the resistance.
Opening behavior can change after repeated use. If resistance increases or decreases, note whether the change occurs during lock release, gasket breakaway or lid movement. Those stages can point to different causes, including seating, friction, gasket recovery or local deformation.
Compare the Experience, Not Just “Tight” and “Loose”
Words such as tight, smooth, soft, or premium help describe an impression, but they do not explain the cause. A stronger sample review pairs that impression with the packed condition, cycle count, lid position, and release sequence. The same comparison can be repeated later.
If an opening-force method already exists for the project, the same procedure should be used across samples. When no numerical target exists, controlled comparative language can still work. The important point is to keep the closing and opening sequence consistent.
Maximum resistance should not become the design goal. A useful closure balances seal contact, repeatability, opening behavior, and tolerance margin. That combination is more informative than selecting whichever sample feels hardest to open.
Make the Next Sample Answer a Question
Sample Comparison and Seal Checks
Sample development becomes slow when every revision changes several variables at once. A new gasket, altered insert, different fill amount, and revised lid can produce a better result, yet the reason remains unclear. The next problem then becomes harder to diagnose.
A cleaner comparison keeps most conditions fixed. One sample can represent a lighter gasket engagement, another the intended condition, and a third a stronger engagement where the structure allows. Actual dimensions should come from the project drawing and measured samples rather than a generic compression rule.
A Seal Test Needs a Defined Question
A seal test is useful only when the method matches the required function. Depending on the project, testing may compare visible leakage, pressure behavior, vacuum response, controlled ingress, or another agreed indicator. Different methods challenge the package in different ways.
Because of that, one successful result should not be stretched into an unrelated performance claim. The method, sample condition, and acceptance rule should stay connected. Filled samples are especially important when product height can influence lid position.
Failed samples should be inspected before they are adjusted or discarded. A repeated weak location can reveal useful geometry information. By contrast, scattered failures may point toward inconsistent assembly, product interference, or variable sealing contact.
A more useful sample question
Which condition keeps full sealing contact, reaches the intended closed position, opens consistently, and remains stable after movement? That question produces more actionable information than simply asking which gasket feels tightest.
The Pack Keeps Moving After Approval
Transport Movement and Vibration
A package that looks stable on a workbench may reach a different internal state after distribution. Repeated vibration can settle loose material, rotate irregular pieces, loosen an insert, or move small fragments toward the sealing area. Exterior appearance alone may not reveal these changes.
After vibration, contents may settle lower and leave more free space, or an irregular piece may rotate upward toward the lid. Either change can affect product movement or closure feel without any change to the gasket. A pre-transport reference makes the difference easier to diagnose.
Inspect the Closed Sample Before Disturbing It
Post-transport inspection should begin before the lid is opened. Check seating, visible gaps, local lift, and any change in alignment. Photographs taken from the same angles as the original sample make subtle differences easier to compare.
Next, open the package carefully and inspect the seal path before loose material is moved. Fragments or particles near the gasket can affect the next closure. The package can then be reclosed using the normal method and compared with its original opening behavior.
Secondary packaging also matters. Carton fit, dividers, pack density, and orientation can change the movement reaching each metal container. For that reason, transport sampling should record the shipping arrangement alongside the individual tin condition.
The purpose is not to reproduce every possible transport event. Instead, the project should compare realistic distribution conditions that could change product position, lid seating, or sealing contact.
A Better Brief Produces a Better Sample
Information to Send for Sampling
A useful sealing brief starts with the packed product rather than the outside container dimensions. The packaging team needs to understand how much vertical space the load occupies, how that height varies, and whether an insert changes the available cavity.
Opening expectations belong in the same brief. Some projects prioritize a lighter everyday reclosure experience, while others need stronger mechanical resistance within the selected closure design. These expectations should be described before gasket changes are compared.
Transport information adds the final context. A sample intended only for a desk presentation faces a different question from a pack that will move through cartons and distribution. Unknown values can be marked for measurement rather than replaced with assumptions.
|
Pack-Out Product dimensions
|
Closure Opening and seal target
|
Distribution Transport condition
|
This information can also show that a gasket change is not the best next move. In some cases, reducing the insert height creates the missing clearance. Elsewhere, controlling the fill profile or choosing a deeper cavity can solve the problem more directly.
Review the available weed tin structures before sampling begins. A wider product comparison is available on the CR Tin product page.
Change the Right Variable
Which Part Should Change Before the Next Sample?
Use the symptom that changes between samples to choose the next variable. If a filled tin sits high, check the pack-out and insert height before changing the gasket. If contact repeatedly fails in one area, inspect lid seating, local geometry and gasket position.
If contact is light around the full seal path, compare controlled gasket engagement. If resistance remains after the lock releases, assess gasket breakaway separately. When the issue appears only after shipment, review product movement and carton configuration before changing the seal.
Common Sealing Questions
FAQ
How does fill height change headspace?
Higher packed contents reduce the free vertical space below the closed lid. However, the highest local point often matters more than the average fill line. An irregular piece, tray edge, or raised insert can become the first part to contact the lid and change seating.
Can more gasket compression always improve sealing?
No. Additional compression can improve contact when the original condition is too light, but excessive compression can raise closure resistance or alter lid seating. A stable working range with repeatable perimeter contact is more useful than maximum compression.
Why can gasket compression affect opening force?
When compressed, the gasket exerts a restoring force against the mating surface. Friction or adhesion at that interface can add to the force needed to separate the lid, while the child-resistant mechanism creates a separate release resistance. These effects should be observed separately when evaluating opening behavior.
What should be compared during transport sampling?
Compare the packed position, available clearance, lid seating, gasket condition, opening behavior, reclosure, and the defined seal-test result before and after movement. Any product fragments or shifted material near the sealing path should also be recorded before the sample is disturbed.
Before the Next Sample Round
Keep Headspace and Compression in the Same Review
Reliable sealing depends on a complete system: the packed product must clear the lid, the lid must reach its intended position, the gasket must contact its mating surface consistently, and the package must remain stable through use and handling. Compare representative pack-outs, change one variable at a time, and repeat the relevant seal, opening and transport checks.
Next Step
Send Product Dimensions or Request a Sample Review
For a useful sample review, send the packed height range, fill quantity, product orientation, insert details, desired opening experience, planned seal check and expected distribution conditions. If a measurement is not yet available, mark it for confirmation rather than estimating it.
A representative filled sample gives the team a better basis for reviewing clearance, gasket engagement and closure behavior than an empty tin alone.
| Send Product Dimensions → | Compare Tin Structures |
Post time: Nov-03-2026